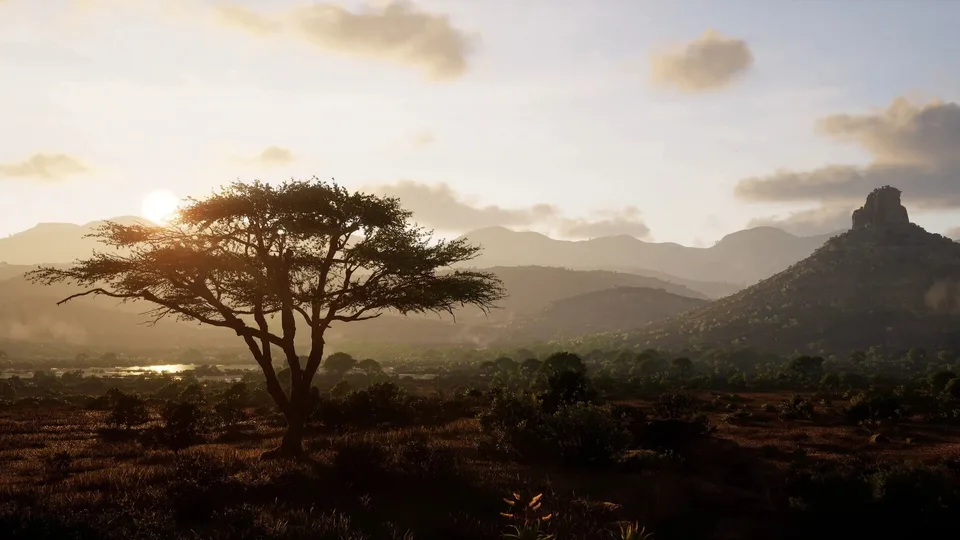
Mastering the Way of the Hunter 2 New Laurentia Map Guide
Discover the ultimate Way of the Hunter 2 New Laurentia map guide. Learn to track animals, find campsites, and master the wilderness with our expert tips.
Published: Way of the Hunter 2 Wiki Editorial Team
Video Guide
Way of the Hunter 2 - New Laurentia - Animal, Station, and Campsite LocationsTable of Contents
Hunting simulations require more than just a steady aim; they demand an intimate knowledge of the terrain. As you step into the vast, untamed wilderness of the latest installment from Nine Rocks Games, navigating the Way of the Hunter 2 New Laurentia map becomes the single most important skill for any aspiring conservationist or hunter. Whether you are tracking a Grizzly Bear through dense brush or setting up camp near a remote lake, understanding the geography is your key to success.
In this comprehensive guide, we explore how to utilize the interactive tools available for the New Laurentia map to maximize your efficiency. Mastering the Way of the Hunter 2 New Laurentia map is essential because the environment is both unforgiving and sprawling; without a clear plan, you risk spending hours wandering without sighting a single trophy animal.
Understanding the New Laurentia Geography
The landscape of New Laurentia is diverse, ranging from rugged mountain slopes to serene, polluted lakes that require environmental intervention. Unlike previous titles, the density of the ecosystem means that animal behavior is strictly tied to specific need zones.
Key Terrain Features
To effectively hunt in this region, you must categorize the map into functional zones. By identifying where infrastructure meets nature, you can predict animal movement patterns with higher accuracy.
Feature Type
Utility
Recommendation
Campsites
Fast Travel & Rest
Unlock early to reduce travel time
Hunting Stands
Stealth & Observation
Best for high-traffic corridors
Shooting Ranges
Skill Calibration
Use before venturing into deep woods
Cabins
Inventory Management
Essential for long-term expeditions
Community reports suggest that players often overlook the "Habitat Enhancement" locations. These spots are not just for show; they are critical for long-term population growth within the game’s simulation engine. Focusing your efforts near these zones often yields higher-quality sightings.
Tracking and Need Zones: The Hunter’s Edge
The core of your success lies in the animal need zones. According to data from the interactive map, there are over 3,700 animal locations tracked, providing a massive database for players to study.
Tip
Focus on Water Sources
Most need zones for species like the Rocky Mountain Elk or the Northwestern Wolf are centered around water bodies. Prioritize scouting lakes and rivers during dawn and dusk.
Animal Distribution Overview
Not all species are equally distributed across the map. The following table highlights some of the primary species and their relative prevalence based on current community tracking data:
Species
Primary Habitat Type
Difficulty Level
Rocky Mountain Elk
Alpine/Meadow
Moderate
Grizzly Bear
Dense Forest/Slopes
High
Northwester Wolf
Valley/Riverbank
High
White-Tailed Deer
Forest Edges
Low
Wood Bison
Open Plains
Moderate
When tracking these animals, remember that the Way of the Hunter 2 relies on a complex AI system. If you spook a herd, they do not simply vanish; they move to adjacent need zones. Using the official interactive map provided by Shackmaps allows you to cross-reference your current location with known migration paths.
Infrastructure and Obstructions
Navigating the map is not just about finding animals; it is about overcoming the environment. You will encounter various infrastructure challenges, such as damaged bridges or boulder obstructions, which can impede your movement.
Managing Environmental Barriers
Damaged Bridges: These often force you to take long detours. Always keep an eye out for crossing points marked on your map.
Fallen Trees: While these can act as natural barriers, they also provide excellent cover for stealthy approaches.
Polluted Lakes: These areas act as "dead zones" for certain species. Avoid hunting here until you have interacted with the local habitat restoration objectives.
By marking these obstructions on your personal map, you create a "path of least resistance." This strategy saves you precious daylight hours, allowing you to spend more time in position rather than traversing difficult terrain.
Advanced Tactics for Serious Hunters
To truly master the Way of the Hunter 2 New Laurentia map, you must move beyond basic navigation. Experienced players recommend setting custom pins for every unique sighting. If you notice a specific pattern of behavior—such as a Grizzly Bear appearing at a specific lodge at 06:00—mark it.
The Importance of Custom Pins
Custom pins allow you to build a personal history of the map. Over time, your map becomes a personalized database of animal behavior. This is particularly useful for rare species like the Rocky Mountain Pronghorn, which have significantly lower spawn counts compared to common game like the White-Tailed Deer.
[!SUMMARY]
Quick Strategy Guide
Scout: Spend your first few hours identifying all accessible campsites.
Document: Use the interactive map to mark high-traffic need zones.
Adapt: Adjust your loadout based on the species density in your current grid.
Restore: Complete habitat enhancement tasks to improve animal quality in the long run.
FAQ: Frequently Asked Questions
Q: How do I access the interactive Way of the Hunter 2 New Laurentia map?
A: You can access the interactive map through the Shackmaps platform, which offers features like custom pins and need zone tracking.
Q: Are all animal species available from the start of the game?
A: While most species are present, their availability in specific zones may depend on your progress in the game's campaign and your interaction with habitat restoration objectives.
Q: Can I share my custom pins with other players?
A: Yes, if you sign up for a free account on the interactive map site, you can contribute and suggest new pins, which helps the community grow the map’s accuracy.
Q: Does the map show the best times for hunting?
A: The map highlights need zones, which implicitly indicate the best times to hunt. By observing the specific need zone types, you can deduce the active hours for each species.